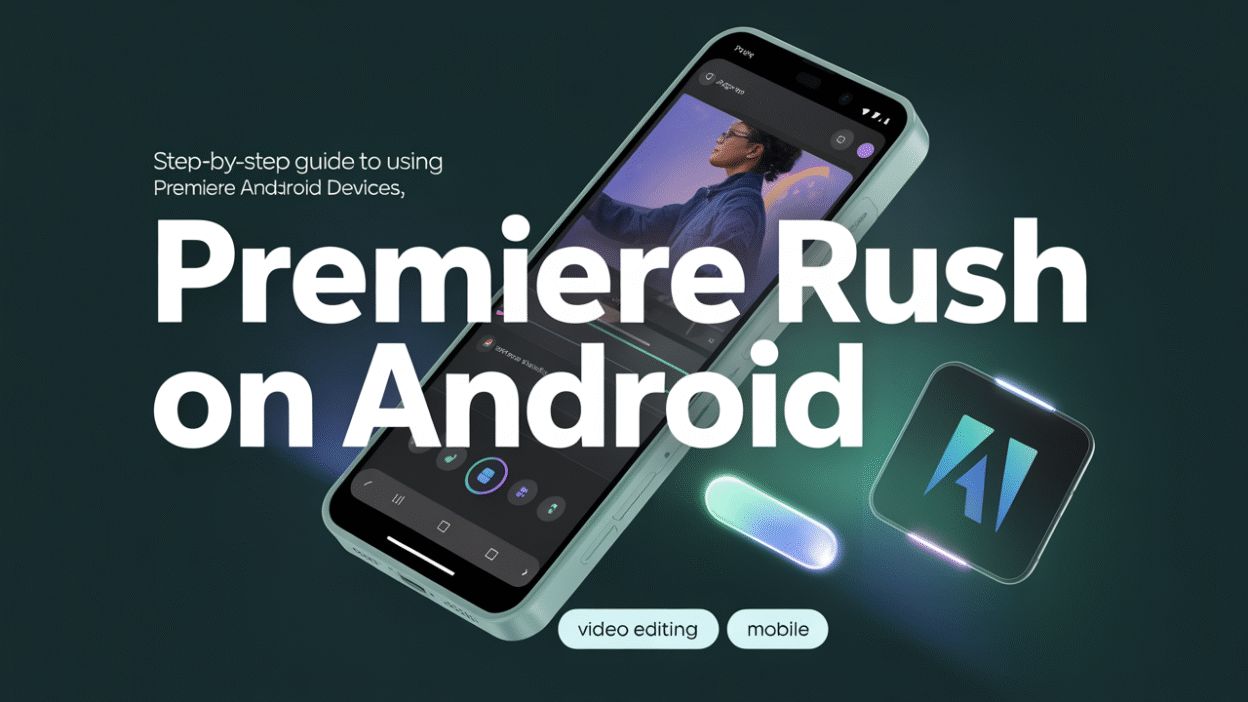
Are you looking to edit videos on your Android device like a pro? Adobe Premiere Rush is a powerful video editing app that allows you to create professional-quality videos right from your smartphone. In this step-by-step guide, we’ll walk you through how to use Adobe Premiere Rush on Android devices effectively.
Step 1: Download and Install Adobe Premiere Rush
Before you can start editing, you need to download and install the Adobe Premiere Rush app on your Android device. You can find it on the Google Play Store or the Samsung Galaxy Store . Make sure your device is running Android OS version 9 (Pie) or later for compatibility . Once installed, open the app and sign in with your Adobe account or create one if you don’t have it yet.
Step 2: Start a New Project
To begin, tap the “+” icon to create a new project. You can choose to start by recording a new video directly within the app or import existing media from your gallery. The app provides an intuitive interface that makes capturing and importing footage straightforward .
Step 3: Add and Arrange Clips
Once your media is imported, you can drag and drop clips onto the timeline. Premiere Rush allows you to add multiple video clips, images, and audio files to your project. Rearranging them is as simple as dragging them into the desired order on the timeline.
Step 4: Edit Your Video
Adobe Premiere Rush offers a variety of tools to help you refine your video:
- Trim Clips: Tap on a clip in the timeline and use the handles to trim its start and end points.
- Adjust Audio: Enhance your audio using built-in tools like noise reduction, volume adjustments, and more.
- Add Transitions: Smoothly transition between clips using transitions available in the app.
- Apply Effects: Use filters and effects to enhance the visual appeal of your video.
The app’s user-friendly interface ensures that even beginners can navigate these features easily .
Step 5: Add Text and Titles
To make your message clear, consider adding text overlays or titles. Premiere Rush includes customizable text templates that you can modify to match your style. Simply select the “Text” option and choose a template that suits your video’s tone.
Step 6: Export and Share Your Video
After completing your edits, it’s time to export your video. Tap the export button and choose your preferred resolution and quality settings. Adobe Premiere Rush supports exporting videos up to 4K resolution, ensuring high-quality output . Once exported, you can share your video directly to social media platforms or save it to your device for future use.
Tips for Using Adobe Premiere Rush on Android
- Keep your app updated to access the latest features and improvements. Regular updates often include new effects, transitions, and bug fixes.
- Take advantage of Adobe Creative Cloud integration to seamlessly transfer projects between your mobile device and desktop .
- Explore tutorials and guides from Adobe Support to master advanced editing techniques .
Conclusion
Adobe Premiere Rush is a versatile tool that empowers users to create polished videos directly on their Android devices. Whether you’re a content creator, student, or just someone who wants to enhance their videos, following these steps will help you get started with confidence. With its intuitive design and robust feature set, Adobe Premiere Rush is an excellent choice for both beginners and experienced editors alike .


