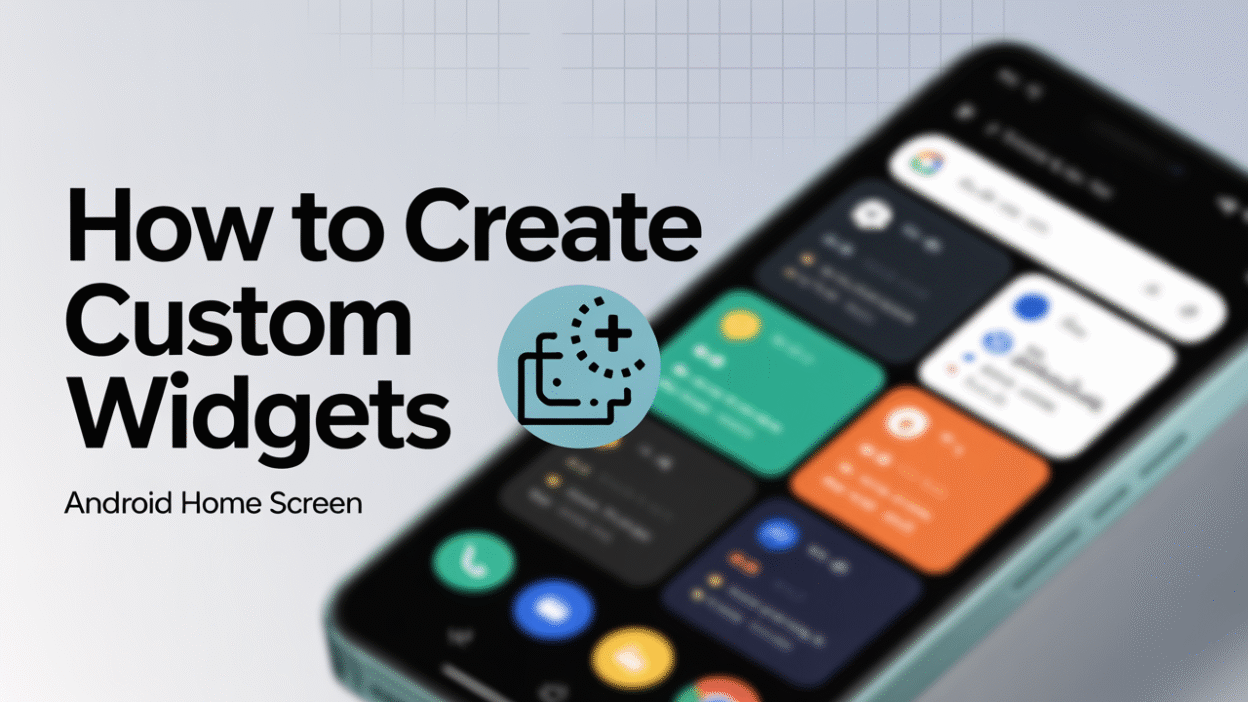
Creating custom widgets for the Android home screen is a powerful way to enhance user interaction and provide quick access to app features directly from the home screen. Widgets are miniature views of an application that can display dynamic content and allow users to perform actions without launching the full app . This guide will walk you through the essential steps to create your own custom widget for Android.
Understanding Android Widgets
Before diving into development, it’s important to understand what widgets are and how they function. Widgets on Android are customizable home screen elements that display actionable or informative content from an app . They range from simple text displays to interactive controls like buttons or sliders. Since their introduction in Android 1.5 with the AppWidget framework, widgets have become a staple of home screen customization .
Planning Your Widget
Start by defining the purpose of your widget. Is it meant to show real-time data, such as weather or stock prices? Or does it offer shortcuts to frequently used features within your app? Clarifying this will influence the design and functionality of your widget.
Also consider the size and layout. Widgets can be static (fixed size) or resizable, depending on how much space they occupy on the home screen. Android provides guidelines for sizing to ensure consistency across devices .
Setting Up the Project
To begin, create a new project in Android Studio or open an existing one where you want to add the widget. Make sure your project includes the necessary dependencies and targets a compatible API level based on the Android versions you intend to support.
Creating the Widget Layout
Widgets use XML layout files similar to regular Android activities. Create a new layout file, typically named something like widget_layout.xml, inside the res/layout directory. Design the UI components here—TextViews, ImageViews, Buttons, etc.—that will make up your widget’s appearance .
For example:
<LinearLayout xmlns:android="http://schemas.android.com/apk/res/android"
    android:layout_width="match_parent"
    android:layout_height="wrap_content"
    android:orientation="vertical"
    android:padding="8dp">

    <TextView
        android:id="@+id/widget_text"
        android:layout_width="wrap_content"
        android:layout_height="wrap_content"
        android:text="Hello Widget!" />

    <Button
        android:id="@+id/widget_button"
        android:layout_width="wrap_content"
        android:layout_height="wrap_content"
        android:text="Click Me" />
</LinearLayout>
Implementing the AppWidgetProvider
Next, create a class that extends AppWidgetProvider. This class handles lifecycle events like updates and interactions with your widget. Override methods such as onUpdate() to define behavior when the widget refreshes periodically or when users interact with it.
Here’s a basic implementation:
public class MyWidgetProvider extends AppWidgetProvider {
    @Override
    public void onUpdate(Context context, AppWidgetManager appWidgetManager, int appWidgetIds) {
        // Update each widget instance
        for (int appWidgetId : appWidgetIds) {
            RemoteViews views = new RemoteViews(context.getPackageName(), R.layout.widget_layout);

            // Set up click handling if needed
            Intent intent = new Intent(context, MainActivity.class);
            PendingIntent pendingIntent = PendingIntent.getActivity(context, 0, intent, PendingIntent.FLAG_UPDATE_CURRENT | PendingIntent.FLAG_IMMUTABLE);

            views.setOnClickPendingIntent(R.id.widget_button, pendingIntent);

            appWidgetManager.updateAppWidget(appWidgetId, views);
        }
    }
}
Declaring the Widget in the Manifest
Register your widget provider in the AndroidManifest.xml file so the system knows about it. Add the following inside the <application> tag:
<receiver android:name=".MyWidgetProvider">
    <intent-filter>
        <action android:name="android.appwidget.action.APPWIDGET_UPDATE" />
    </intent-filter>
    <meta-data
        android:name="android.appwidget.provider"
        android:resource="@xml/my_widget_info" />
</receiver>
Configuring Widget Metadata
Create an XML file in the res/xml directory (e.g., my_widget_info.xml) to specify details like minimum width, update frequency, and initial layout:
<appwidget-provider xmlns:android="http://schemas.android.com/apk/res/android"
    android:minWidth="146dp"
    android:minHeight="72dp"
    android:updatePeriodMillis="86400000"
    android:initialLayout="@layout/widget_layout"
    android:resizeMode="none"
    android:widgetCategory="home_screen">
</appwidget-provider>
Testing and Customizing
Once everything is set up, run your app and add the widget to the home screen via the widget picker. You may need to adjust the layout and functionality based on testing feedback. If you’re aiming for advanced customization, such as changing fonts or colors dynamically, additional coding might be required, possibly involving more complex logic within the RemoteViews class .
Conclusion
Custom widgets offer a unique opportunity to extend your app’s reach beyond its main interface, providing users with valuable information and controls at a glance. By following these steps, developers can integrate functional and visually appealing widgets into their apps, enhancing the overall Android experience. Whether you’re creating a homescreen memo, weather forecast, or music control panel, understanding how to build and deploy widgets is a valuable skill in Android development .